Master Artistic Techniques with a Creative Coloring Course
- Universal Source 777

- Aug 6, 2025
- 3 min read
Artistic coloring techniques open a world of creativity and self-expression. Whether you are a beginner or an experienced artist, mastering these techniques can elevate your artwork to new heights. This post explores various artistic coloring techniques, practical tips, and how a creative coloring course can help you develop your skills effectively.
Understanding Artistic Coloring Techniques
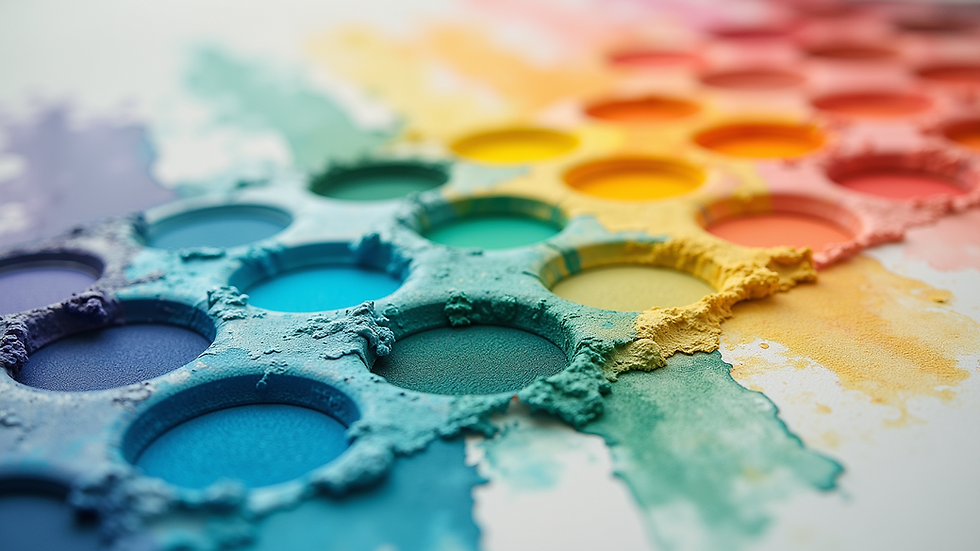
Artistic coloring techniques involve different methods and tools to add colour, texture, and depth to your artwork. These techniques can be applied to various mediums such as pencils, markers, watercolours, and digital tools. Here are some fundamental techniques to get started:
Blending: Smoothly mixing two or more colours to create a gradient or seamless transition.
Layering: Applying multiple layers of colour to build richness and depth.
Hatching and Cross-Hatching: Using lines to create shading and texture.
Stippling: Creating texture and shading with small dots.
Burnishing: Applying heavy pressure with a pencil to create a polished, shiny effect.
Each technique has its unique effect and can be combined to create complex and visually appealing artwork.

Practical Tips for Applying Artistic Coloring Techniques
To master artistic coloring techniques, practice and attention to detail are essential. Here are some actionable recommendations:
Choose the Right Tools
Select high-quality pencils, markers, or paints that suit your style. For example, wax-based pencils are excellent for blending, while watercolour pencils offer versatility.
Experiment with Pressure
Varying the pressure applied to your colouring tool can change the intensity of the colour. Light pressure creates soft shades, while heavy pressure produces bold, vibrant colours.
Use a Colour Wheel
Understanding colour theory helps in choosing harmonious colour combinations. Complementary colours create contrast, while analogous colours provide a harmonious look.
Practice Blending Techniques
Use blending stumps, brushes, or even your fingers to smooth transitions between colours. Layering light colours first and gradually adding darker shades enhances depth.
Work in Layers
Build your artwork gradually by layering colours. This technique adds richness and allows for corrections without damaging the paper.
Keep Your Workspace Clean
Avoid smudging by keeping your hands and tools clean. Use a piece of paper under your hand to prevent accidental marks.
By incorporating these tips into your routine, you will see noticeable improvements in your colouring skills.

Exploring Different Mediums for Artistic Colouring
Different mediums offer unique possibilities and challenges. Understanding their characteristics helps you choose the best one for your project.
Colored Pencils: Ideal for detailed work and layering. They allow precise control and blending.
Markers: Provide vibrant colours and smooth coverage. Alcohol-based markers blend well but require special paper.
Watercolours: Offer a translucent, fluid effect. They require practice to control water and pigment.
Pastels: Soft pastels create rich textures, while oil pastels offer bold colours and blending options.
Digital Tools: Software like Procreate or Photoshop offers endless possibilities with layers, brushes, and effects.
Try experimenting with different mediums to discover which suits your style best.
How a Creative Coloring Course Can Enhance Your Skills
Enrolling in a creative coloring course can accelerate your learning process. Such courses provide structured lessons, expert guidance, and practical exercises tailored to various skill levels.
Benefits of taking a creative colouring course include:
Step-by-step tutorials that break down complex techniques.
Access to professional tips and tricks that save time and frustration.
Community support to share your progress and get feedback.
Inspiration and motivation to keep practising regularly.
Whether you want to improve your shading, blending, or experiment with new mediums, a course can provide the foundation and confidence you need.
Tips for Creating Your Own Artistic Colouring Projects
Once you have mastered basic techniques, try creating your own projects to apply your skills creatively. Here are some ideas:
Design Custom Greeting Cards: Use your colouring skills to make personalised cards for friends and family.
Create Colouring Pages: Draw simple outlines and colour them using different techniques.
Illustrate a Story: Combine colouring with storytelling to create illustrated books or comics.
Decorate Everyday Items: Colour plain notebooks, phone cases, or mugs for a unique touch.
Experiment with Mixed Media: Combine colouring with collage, stamping, or digital art.
Remember to document your progress and reflect on what techniques worked best for each project.
Keep Developing Your Artistic Colouring Techniques
Mastering artistic colouring techniques is a rewarding journey that combines creativity, patience, and practice. By exploring different methods, experimenting with mediums, and possibly joining a creative coloring course, you can unlock your full artistic potential. Keep challenging yourself with new projects and enjoy the process of bringing your artwork to life with colour.


Comments